How To Show Scarcity Using Countdown Timers In 5 EASY Steps
 Amisha - , 777
Using a countdown timer plugin is a tried-and-true method of persuading your audience to act.
Your visitors will be notified that your special offers will not last indefinitely when you display how long they will last and how long they will last.
To maximize your web page conversions using countdown pages, you must first comprehend human nature.
The psychology of scarcity is based on the notion that the more restricted something is, the greater its value to the audience, and vice versa.
What Exactly is the Countdown Timer?
Using timers countdown, you can generate a feeling of urgency among your customers and convince them to take urgent action. Customers are more inclined to take action if they are given the sense that there is a limited supply and a deadline.

You’ve probably seen website countdown timers employed in marketing campaigns before, sometimes without even understanding what you’ve seen.
They often appear on landing pages and websites during promotions or events, and they are also frequently seen on television commercials (like shopping networks).
Countdown counters are typically positioned in the middle of the screen, although they may sometimes be hidden in plain sight.
Scarcity created by the passage of time is a very successful marketing psychology technique.
By using website countdowns in your email marketing plan, you’ll be able to generate a feeling of urgency and scarcity (FOMO) in your target audience with highly targeted information that is given directly to them.
We’ll use Essential Plugin’s Countdown Timer Ultimate for this article to create a sense of urgency.
Countdown Timer Ultimate
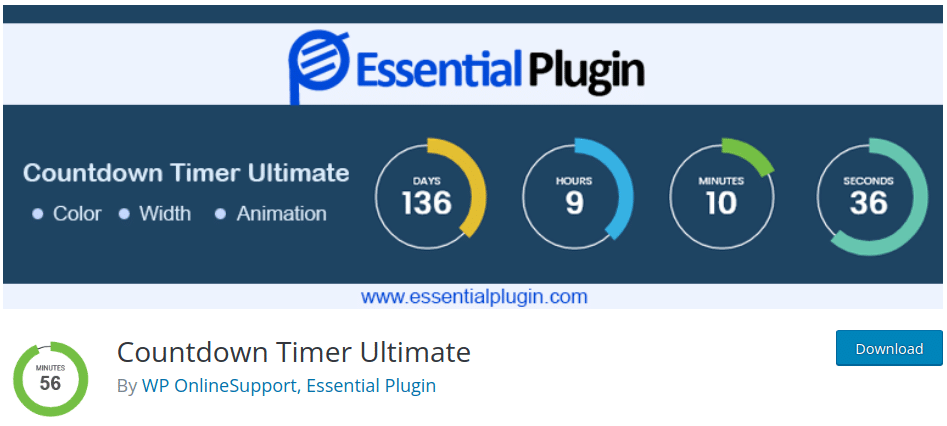
One of the top lead-generating tools is Countdown Timer Ultimate. It’s quick and easy to use, and anybody can create high-quality ads in no time.
Use our Countdown timer plugin for your site that is simple to use. Create an attractive and helpful countdown counter in minutes with a Countdown timer.
Make the countdown easier, quicker, and more beautiful.
Visitors who come to your site via a navigational inquiry will see such a lovely WordPress countdown plugin and will not be bored.
Check All Features of Essential Plugin Countdown Timer Ultimate Plugin:
- 10+ clock style
- Clock expiry time functionality
- Integrated with E-commerce
- Adjustable circle clock width
- Clock Background color functionality
- Clock animation
- Compatible with WordPress themes
It is the most beneficial strategy for offering eye-catching Countdowns to your consumers. Here is a list of the best WordPress countdown plugins to read more.
Now you’re ready to begin establishing scarcity using countdown clocks throughout your site. Let’s dig in.
- Finalize the type and template timers
- Modify your content
- Customize your countdown timer
- Your targeting criteria should be defined in advance
- Connect email provider integration
1. Finalize the type and template timers
When you’re on the countdown timer plugin dashboard, your first step is to build a new campaign. That means for what reason you are putting a countdown timer. For example, shopping, subscribing to offers, etc.
If you’re already using a WordPress site, you may do this by selecting straight on the campaign type you want to generate for your customers.
Next, you’ll need to decide the template of countdown counters you want to work with.
You may choose from more than 13 pre-designed templates at Essential Plugin. For example, you can use countdown pages like Fixed Countdown Timers, Scheduled Timers, Recurring Timers, Evergreen Timers, etc., which are targeted to create scarcity for your products.
Your scarcity timers countdown campaign may now be tailored to your specific needs.
2. Modify your content
The campaign type and template you’ve selected so far are perfect for the tone and style of your business.
After this point, all you need to do is customize your offer’s message to resonate with your target demographic. In the campaign builder, you may choose the text you wish to update and edit it directly.
It’s possible that the countdown counters aren’t already included in the design you choose. So, what to do now?
This and other elements may be added to your campaign simply by dragging and dropping. Go to + Add Blocks on your dashboard, and you’ll be able to create new blocks.
You can also add:
- Custom HTML
- Icons
- Images and Videos
- And that’s only the beginning…
With our countdown timer plugin, customizing your scarcity campaigns is a breeze.
You won’t have to know anything about coding, and you’ll be able to customize your popup to your heart’s content.
3. Customize your countdown timer
There are two sorts of countdown clocks to select from:
- Static
- Dynamic
There is no way to change the countdown date with a static countdown timer. Black Friday and Cyber Monday’s generally recognized closing timings make them ideal.
Adding dynamic countdown clocks expands the possibilities even more. Instead of a specific date, you may specify a time frame for your offers using these.
So, let’s assume you wanted to provide a 35% discount to new customers for ten days.
It’s Monday, and your first visitor sees the popup and realizes they have another nine days to take action. Using dynamic countdown clocks, you may promote limited-time offers while giving everyone the same amount of time to act.
Choose the correct countdown timer for your offer by weighing the pros and cons of several options.
4. Your targeting criteria should be defined in advance
Creating your scarcity countdown timer popup is only the beginning.
To ensure that this campaign gets seen by the appropriate individuals at the correct times and in suitable locations, we need to include a few simple targeting criteria.
At the top of the dashboard, select the Display Rules option.
By default, you’ve got the following two rules in place:
- Time spent on a page must be at least 5 seconds
- The current route to the URL is on any page.
5. Connect email provider integration
Our website countdown timers allow you to send fresh leads straight to your email service provider.
In this manner, you can save yourself a lot of time, effort, and frustration by automating your email marketing plan.
You may add a new integration in countdown pages by clicking Add New Integration in the Integrations page.
In most circumstances, all you’ll need to do is input the API Key of the email service provider. And you are ready to publish the countdown timer.
Wrap Up
We hope this will help you install and work with our countdown timer plugin.
Please check out our Essential Plugin Bundle specifically made to meet your business needs, and let us know if you need any help.
Other Related Articles, You Must Read:
5 Best WooCommerce Booking and Appointment Plugins
The 10 Best WordPress Plugins to Take Your Site to the Next Level